Monday, June 30, 2014

M82

This one will be quick and easy. I have given up on extracting the images manually, not because it's hard, but because the interpreted programming language I'm using has a lot of overhead and I will need to re-write everything in C and have yorick interface it as a plugin. (Each image takes about 3-4min to decode...) The following is done simply using the dcraw code + image magick + gimp:

M82 - The cigar galaxy. Nikon D90 800 ISO.
Here is an image of M82, the cigar galaxy. This image was obtained by stacking together 13 images. It was taken in downtown Montreal. The light pollution is so large in Montreal that the contrast between the features of the galaxy and the sky is very low.

More analysis on this later.

All processing was done with Gimp, an open-source photoshop alternative. The procedure is called image stacking. Image stacking means just computing an average image of a set of images to increase the signal to noise. However, with amateur astronomy photos, there is one extra detail. As the evening progresses, your tracking system may not be perfect and you will find that your images may shift a little. By using gimp and its difference feature, it is possible to correct for this shift before you obtain the average (note this is much trickier for rotations so be careful not to rotate your camera between photos, and use an EQ mount to avoid field rotation). You'll probably want to worry about dark images and flatfield corrections as well but these are details to the process that become obvious once you do it.

One small interesting feature. A supernova occurred in this particular galaxy and the light curve from the AAVSO  shows that it is probably around 15 magnitude (picture taken near May 7th, 2014).

AAVSO data. Black curve is the visible data.

It turns out this means that it is 10 times weaker than a 12.5 magnitude star (10 times brightness every 2.5 magnitude). Universe today has a nice picture showing a 12.2 magnitude star around the area. I'll elucidate it here:

M82 with its supernova and some surrounding stars.

And there you have it. M82 in all its glory with its supernova SN 2014J, surrounded by an obnoxious light pollution background.

Sunday, June 15, 2014

Quick Way to Decode a Huffman Table


(2nd version - my previous version was erased)

The scope of this blog is astronomy DIY tinkering. The current goal is to develop a set of routines to process some nice amateur astronomer photos and (hopefully) learn some neat stuff along the way. However, it is necessary to learn some techniques/tools out of the scope of the blog (or logbook) along the way sometimes, which is what makes any hobby fun. I came across a neat shortcut to decoding a Huffman table the other day and thought I would share it. It is part of Dave Coffin's dcraw code. You can find the code here. (Look for the make_decoder_ref function in the code)

Huffman Tree - Short Intro
First of all, what is a Huffman tree? I won't go into too many details because you can find it online but basically it is something like this (for the Nikon D90 images for example):
 
Huffman tree for the Nikon D90 NEF files
When reading a bit pattern, you basically start from the root of the tree, move down and left for a 0, down and right for a 1 until you reach a leaf. When you reach a leaf, that's your first data segment in your code (So 011 would yield 0x03 in this example). This variable length coding is quite good for compression where certain bit patterns occur more often than others (so you'd have the more frequent bit pattern represented by a shorter string, with the trade off that the less frequent bit pattern may be represented by a longer string).

Okay, so walking through trees are quite implemented by some sort of referencing mechanism (pointers or arrays). You just follow the arrow like in the diagram. This is usually fine since the depth of trees is logarithmic. It gets even better when the trees are not simply binary, but the behavior is the same.

But why not speed up if you can?

The trick
There is a way to access with one access as opposed to "following the arrows". The trick to getting this to work is the way the huffman table is made. Since one doesn't care about what the exact huffman code is, one can skew the tree. We can re-arrange is such that:
  1. For every leaf at some depth d, the next available leaf to the right is at either the same depth d or lower.
  2.  There is only one node that is not a leaf and has only one child. (Will make sense later on)

If you look at the Nikon tree above, you'll notice that it seems that they've done just that which is neat. There was no value for the righter most value so it is possible this is not implemented by Nikon.

We then have two properties:

  1. From any leaf, the next leaf to the right is a bit pattern of same or greater length than the previous bit pattern
  2. (general property of binary tree) At the same depth d, walking along the nodes from left to right is the same as adding 1 to the size d bit string that would represent it. You can prove this by induction. The base case would be a tree of depth 1 of which you could tack on two trees of depth onto as the n+1 case for ex:
  3. Sample Binary tree


Knowing this, let's take the value of every leaf and just pad it to the right with zeros, so that it is as long as the longest possible bit pattern in the Huffman tree. So if my maximum length was 10 and my current bit pattern was 010111, it would then be: 0101110000 for a total length of 10.

Now, let me walk from one leaf of length d1 with pattern A1 and compare if o the next leaf to the right (which may be at a lower depth) A2 with depth d2:
A1(0...0)
A2(0...0)

I know the following. At depth d, I must walk along the nodes to the right at the same depth, so the first d bits must be (A1+1). After this, I know the rest must be zero padded. This is because there are two possible choices for the next leaf:
  1. It is the same depth as the previous leaf so the rest of the values are zero padded.
  2. It is deeper. This means we're on a node again. Since each node must have two children, then as we walk down the tree, we can always take the node to the left until we reach a leaf (which has 0 children of course).
Implementation
With all this information, there actually ends up being a quick way to implement the access of the huffman code. Let's say the maximum depth of the tree was D. All we need to do is make an array of size 2^D.
We fill the elements as follows:

huff = lengths = array(0., 2^D);
For each depth d:
          For each leaf from i = 1 to N
                  Fill the next 2^(D-d) elements in huff with the first code. Store the length d in a separate array for that code as well.
          end for
end for

And voila. Now, the read process is as follows:
1. Read D bits from buffer. If end of data, exit.
2. huff[D] is the next result and the length of the code was length[D]
3.  Only move cursor in buffer by D-length[D] and go back to 1

Notice that for each code one access is performed. No tree walkthrough necessary!

Drawbacks
This only works for skewed trees with the two-child rule stated earlier. Although it is easy to make a huffman tree following these rules (just loop through finding the min depth leaf and moving it right as you would for sorting), you can't do this if the code you're trying to decode has been encoded. This encoding scheme looks clearly intentional on Nikon's part and is a neat little trick.

Comments suggestions? I view this as a shared logbook. I try to share what I find neat and hope it to interest/inspire others to dig around outside their boundaries of expertise (these ideas are new to me). I hope this to be useful information to some person some day!

(astrophotos soon, and two other projects lined up, but not implemented... :-D)

Saturday, June 14, 2014

Unencoding the Nikon Images - Part 3

Astrophotography Part 3 - Unencoding the Nikon D90 Images

I don't have much time other than weekends and metro rides where I can read source code on my Kindle Fire so this is going slowly...

Anyway, there is some code out there written by Dave Coffin to decode most image formats. It's wonderfully written, but it's quite terse and not commented too often. Anyway, the images for the Nikon D90 are huffman encoded, and the decoding tree is well... not in the F*$&@$G file!


Dave Coffin's code contains the decoding tree which is as follows:
 { 0,1,5,1,1,1,1,1,1,2,0,0,0,0,0,0,    /* 12-bit lossy */
      5,4,3,6,2,7,1,0,8,9,11,10,12, ?? } //ignore the "??" for now


There are two pieces to this code:
  1. The occurences: The first 16 numbers are a separate quantity in themself. The nth position refers to the number of occurrences of an n-length code. 
  2. The leaves : The rest of the data are the leaves. Notice that the sum of the for 16 numbers should equal the number of leaves. Also note that this describes 12 bit data and that there are 12 leaves (there seems to be a typo in Dave Coffin's code so there is a missing leaf, hence the "??").
Anyway, making the tree, you should find that the code goes as follows:

00 - 5
010 - 4
011 - 3
100 - 6
101 - 2
110 - 7
1110 - 1
11110 - 0
111110 - 8
1111110 - 9
11111110 - 11
111111110 - 10
1111111110 - 12
1111111111 - ??

I have no clue what the last value is because it seems that his source code doesn't have it. In either case, I have checked and this value never occurs in my image so we're all good. But it would be a good idea to have an error message returned it this value is ever found.

What these values mean

It turns out that this code does not give you the image itself. It actually gives you the number of bytes to read after the code for each pixel. So the decoding pattern would be (at iteration n):
  1. Find the next huffman code
  2. Decode it and read that number of bits. This value will be used for the nth pixel
  3. repeat for n+1
Before continuing, we can make the following remark. In the huffman encoding scheme, the length of the bit pattern is more or so inversely related to the frequency. So we see the number of bits returned is usually in the ballpark of 2-7 bits, with 0,1,8 being rarer.
Also, the order in which you read the pixels is obviously important. The array dimensions should be 2868x4352. So, in this case that an nth pixel is located in position (assuming 0 based indexing. For 1-based, subtract 1 from n first then add 1 after the operation to result):
n/2868 + n%2868 4352


Anyway, that's the basic idea for now. The next step is to understand the color matrix, which I'll get to when I find time. The next image I will show will be a very bad (false color) plot of the raw pixels, so you are warned. After this maybe some discussions on code. There is a fast technique Dave Coffin uses to decode a huffman table (and took some time thinking about it on the metro while reading it) that is pretty neat. I could not find documentation on this anywhere.

False Color plot of the image so far. This one is of the moon.


A zoom on the plot. Notice the periodicity in x and y.

Sunday, June 8, 2014

Astrophotography Part 2 : The Linearization Curve

Okay, so last post I was trying to understand the format of the Nikon Images. So they are standard TIFF format which contains some sort of header followed by locations to Image File Directories (IFD's) which each contain tiff tags which point to the image information and the location of the image itself.

It turns out there are two important IDF entries that will point to information about the camera and information about the actual image. I will discuss the former.

Digital Cameras - The EXIF data

To reach the EXIF data, you need to the IFD entry with tag # 0x8769.
A simple hex dump and then search for the string "87 69" (fortunately) brings me right to the tag in question on the first try:

00000100  00 06 00 00 01 9c 87 69  00 04 00 00 00 01 00 00  
00000110  01 e0 88 25 00 04 00 00  00 01 00 00 d4 d2 90 03 

 The tag is type 4 (int) and is actually a pointer to an EXIF IFD. From what I see, most digital cameras will have this so any routines grabbing this information will be useful. The EXIF IFD is yet another IFD and has its own set of tags which can be found here.
With the large number of tags and data types, I have just created with the combination of associative arrays and dynamic objects a routine that creates an object with intuitive names for each variable. I will omit the details but if someone's interested just ask. I will post some source once I convert to python.


In the EXIF IFD, there is a pointer to yet another structure, called the MakerNote (tag # : 0x927C). Here is my MakerNote tag:
00000270  03 b0 92 7c 00 07 00 00  d0 de 00 00 03 f4 92 86
00000280  00 07 00 00 00 2c 00 00  03 b8 92 90 00 02 00 00


One thing you'll notice is it is a new type, type #7. This is actually a new type specified in the new Adobe TIFF 6.0 format. This format is undetermined. All it means is that you will need to refer to the maker of the file for more information on how to read this data. So, I just read it as an array of chars (1 byte) for now.

The Maker Note

So, the maker note is 0xd0de = 53470 bytes long and starts at 0x03f4. Let's find it. Here is the beginning:
000003f0  00 00 00 01 4e 69 6b 6f  6e 00 02 10 00 00 4d 4d
00000400  00 2a 00 00 00 08 00 36  00 01 00 07 00 00 00 04
00000410  30 32 31 30 00 02 00 03  00 00 00 02 00 00 03 20
00000420  00 04 00 02 00 00 00 08  00 00 02 96 00 05 00 02

...etc...


(you should be convinced that the bold letters do start at position 0x03f4)
The format is pretty simple. The first 5 characters spell out "Nikon" (0x4e, 0x69, 0x6b, 0x6f, 0x6e; refer to this ASCII table to be sure I'm not lying to you) and are null terminated by "00". The next two bytes are the version (0x0210). Finally, the next two bytes refer the endianess of the MakerNote, because... It is another TIFF file!

From now on, we have entered a new TIFF file within a file... Anyway, so okay, it's another TIFF file again in big endian and we see another magic value of "42" (0x002a). Finally, there's the offset, which is 8. Relative to the beginning of this file, that's just the next byte in the sequence.

The Linearization Curve


Okay, so let's skip all that. What I wanted to get to was the linearization curve.
There is one tag with the numbers 0x0096 and that is a pointer to the linearization table. I'll assume you've had enough with hex and I'll skip how to find it now. To figure out how to read it, there is a good reference here which explains everything I have done here as well as how to read it. Again, I skip the details. Basically, you have to go to the right offset (see link I linked to and look for the lin table and do what it says for ver0 = 044 and ver1 = 0x20), read in some shorts (2 bytes), and then interpolate from 0 to 256 to 0 to 4096. The last step is not really necessary to see the curve.

Here is the curve:


Nikon D90 Linearization Curve linear plot
Nikon D90 Linearization Curve log plot


Where the second plot is a log-log plot.
From what I understand, a linearization curve is kind of like a gamma correction, except it seems to follow a linear power law near the beginning (green) and a quadratic power law near the end (red). This is elucidated by the log-log plot. If your function obeyed one simple power law, then you should see points aligned in one line with constant slope. Basically, under normal conditions, your eye is more sensitive to certain changes in intensity and less sensitive to other changes.

Next will be reading the image itself. It may take me a while because I'm busy with research and helping with people in my research team (wrote a YUV 422 decoder for a camera, an interface from Yorick to a spectrometer driver [I did not write driver in link, I used it to interface Yorick] to plot up some nice waterfall plots recently on top of trying to finish this PhD...)


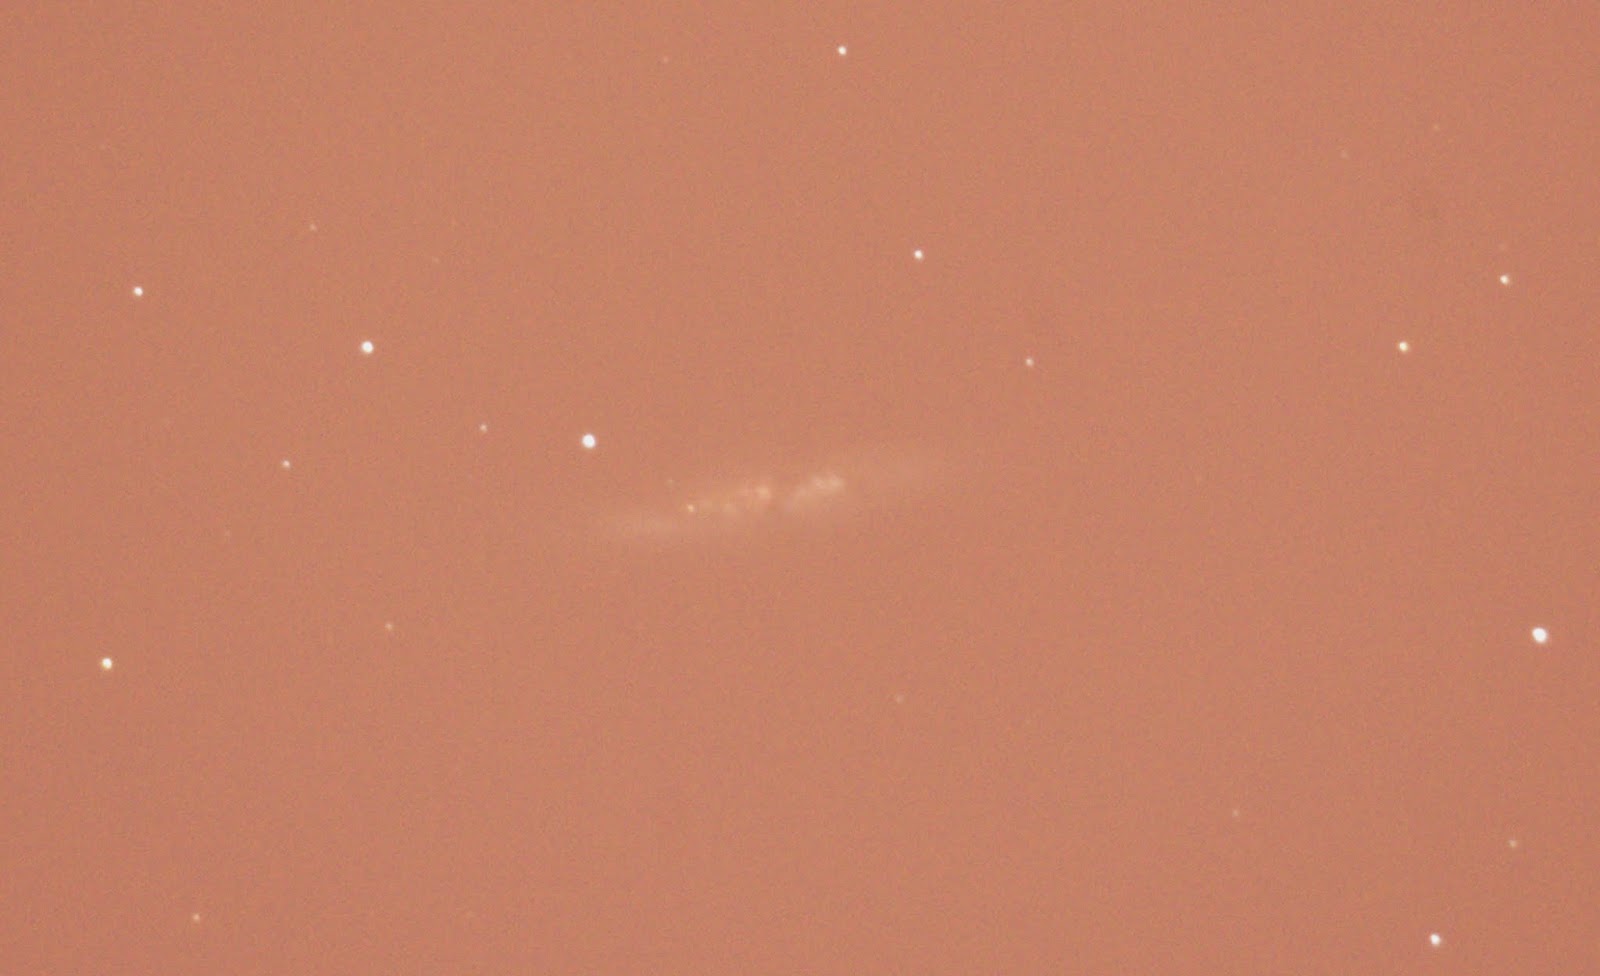
Next on the agenda : Read these images, average them using the stacking technique in astrophotography, and then see what else can be done to improve the contrast on the nice features.

In the (far....) future: Get the USB SDR device to work in yorick and start plotting waterfall plots, then connect to a dish and start doing some radio astronomy....

Thanks for reading, if you have comments/suggestions let me know. I'm doing this all because it's fun and the only way to generate new ideas is to follow the footsteps of others and form your own point of view :-).